Keeping your stove clean is essential to maintaining a healthy and functional kitchen. A clean stove makes cooking easier and more enjoyable and prevents the accumulation of harmful bacteria and food residue. To help you make quick work of the job, here are six steps to clean your stove to extend its lifespan and keep it looking and functioning like new.
Step 1: Gather Your Supplies to Clean Your Stove
Before you begin, gather the supplies you’ll need. With cleaning essentials on hand, you won’t need to search for materials during your cleaning process. Here’s a list of items you’ll need for a clean stove.
- Dish soap
- Baking soda
- Vinegar
- Scrubbing brush or sponge
- Microfiber cloth or towel
- Razor blade or plastic scraper
Step 2: Turn off the Heat Before You Clean the Stove
Before starting the process, verify the stove is turned off and cooled down completely. If you’ve been cooking, wait 45 minutes to an hour until the stove has cooled to avoid burning yourself.
Step 3: Remove Burners and Drip Pans
Remove the burners and drip pans from your stove. Soak these items in warm soapy water while you clean the rest of the stove. Then, use a scrubbing brush or sponge to clean them thoroughly, removing built-up grease or debris.
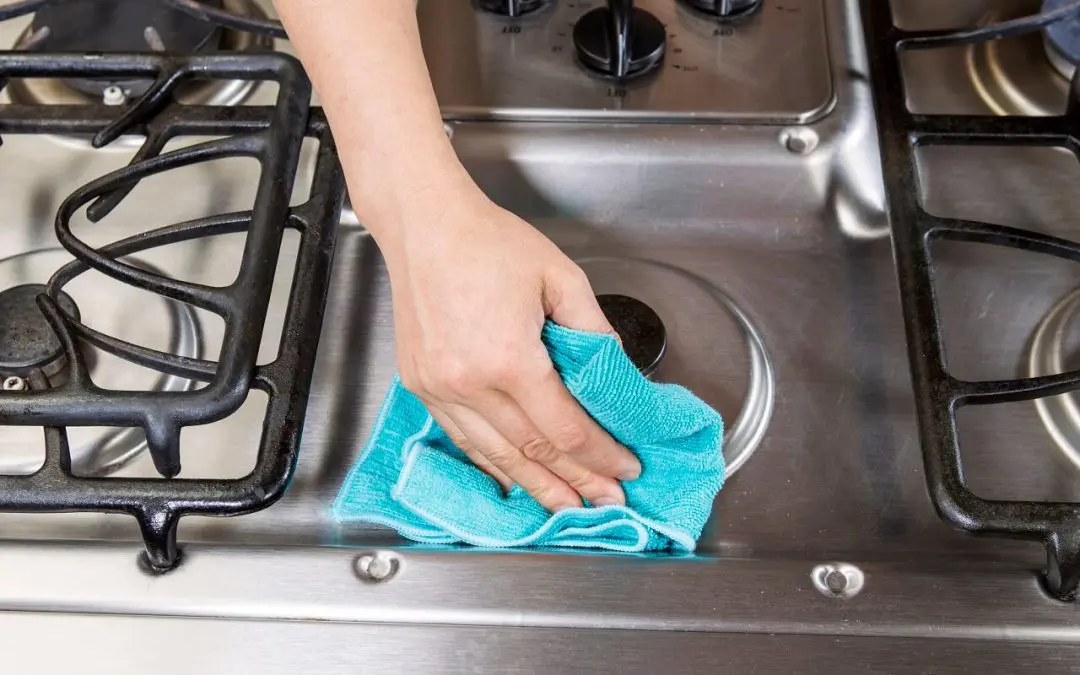
Step 4: Clean the Stovetop
Use a mixture of baking soda and water to create a paste. Apply the paste onto the stovetop, making sure to cover all areas. Let the paste sit for about 15 minutes to allow it to work.
Next, wipe the stovetop gently with a scrubbing brush or sponge. Use the razor blade or plastic scraper to gently remove stubborn areas of burnt-on food. Be careful not to scratch the surface of your stove.
Once you’ve finished scrubbing, wipe the stovetop clean with a damp microfiber cloth or towel. If stains or residue remain, use vinegar and water to clean them off.
Step 5: Clean the Oven
If your appliance includes an oven, clean it regularly. Most ovens feature a self-cleaning function that uses high heat to burn off food residue. Follow the instructions in your oven manual to use this function correctly.
If your oven does not have a self-cleaning function, use a mixture of baking soda and water to clean it. Verify the oven is cool before you begin. Make a paste and apply it to the inside of the oven. Let it sit for a few hours before scrubbing it clean with a brush or sponge. Wipe the inside of the oven with a damp cloth or towel to remove the remaining residue.
Step 6: Put Everything Back Together
Once you’ve finished cleaning your stove and oven, it’s time to reassemble the appliance. Make sure all the burners and drip pans are dry before putting them back in place. Double-check that everything is connected and functioning correctly.
Cleaning your stove doesn’t have to be a hassle. With the right supplies, you’ll keep your stove and oven looking and functioning like new. Make time to clean the stove regularly to prevent the accumulation of bacteria and food residue.
Blackbird Home Inspections provides inspections to customers in Central Arkansas. Contact us to schedule our services.